…or: The Making of the Year of the God-Fox Cover, Book One
This week I’ve been working frantically getting materials for the launch of my latest webcomic, Year of the God-Fox, ready. One of these materials was the cover for Book One. Though the comic will be update one chapter at a time, I need to have the cover for the first book ready before the prologue is posted, since people will be able to purchase it at that time.
Since this cover was made using a rather unusual technique, I thought I would document the creative process and share it with you.
Step 1: Conceptualization and Design
Because YotGF will ultimately consist of four books (one for each of the year’s seasons), I knew I would need a design that could be used, with only minor modifications, for all four. Just like the way the original Harry Potter books all have essentially the same cover design. Or any other book series.
Because I was working on a very tight schedule with almost no time or energy to paint a special cover, I decided I wanted a design that could incorporate pre-existing art from within the comic itself, so I would not have to create more art. Personally I like the broad, sweeping covers with the title worked into the artwork, but that was not an option for me at this time. I decided to go with the “window” design: roughly half the space would be taken up with the title, and a little window of artwork in the center. I’ve seen this design used elsewhere, and I knew it could look quite graceful when executed correctly.
After many preliminary sketches blocking out where the text should go and muddling around in Photoshop deciding what fonts to use, I finally came up with this design:
The biggest problem was actually deciding how to incorporate the kanji (Japanese characters). Since the story is heavily influenced by Japanese history and culture, and kanji are used extensively within the comic, I wanted to use them on the cover as well. However, since my audience are primarily English-speakers, I knew that the kanji would have to be comparatively small and easy to ignore, to allow people to read the title and the author name (the two most crucial parts of any cover). At the same time, I also wanted what they said to make a small amount of sense. Eventually I settled on the sequence you see above: putting the kanji for my last name: 小川 (Ogawa), book number: 本一 (book one), and the title of the series in Japanese: 神狐の年 (kami-kitsuné no tôshi) in the margins around “of the” and the character 夏 (summer) under my name. For the second book (Autumn) the book number will be changed to 二 (two) and 夏 to 秋 (autumn).
I had to bastardize the kanji a little bit, since technically Japanese is read top to bottom right to left, but in the case of this cover I was obliged to write them horizontally right to left. I have seen this used in other instances of Japanese and English being combined on book covers, and so felt justified in the choice.
For fonts I chose Trajan for my main title font and Lithos as my secondary caption font. I like using two fonts in my covers: one that is big and eye-catching, and another that is more modest, yet still compliments the other. I chose Trajan, despite the fact that it is already used extensively, because I liked its simple and elegant design, and thought it looked good alongside Hiragino Mincho (the font used for the kanji). I chose Lithos for similar reasons. The artwork is pulled from Chapter One, and is strictly a place-holder.
Step 2: Creating the Artwork
Now that I had a design, I thought about how to make it look more interesting. I knew I didn’t want a plain white background, but I also knew I didn’t want a cluttered one either—besides I had no time to do any complex painting.
I recalled an experiment I’d done years ago when making a distressed document: I’d soaked the paper in tea to stain it, then burnt the edges and scorched the interior to make it look like it had suffered intense damage. The result was quite striking. It occurred to me that, instead of putting the images together in photoshop, I could literally take a piece of paper, cut a hole in it, and scan it with the cover art from the comic behind it, giving it a dimension that Photoshop cannot (at least, not very well). Furthermore, I could distress the hole with fire. I liked this idea, since the stories centers on a God-Fox, and fire is heavily associated with him. It would look like there’d been this hole burned through a mundane piece of paper, revealing this incredible world beyond.
I liked this idea very much.
After messing about with various types of paper, I eventually settled on Hot Press watercolor paper—specifically because the pad of it I had was defective, and would exhibit a horrible texture once it had been gotten wet. This made it useless for fine art painting, but perfect for the distressed cover, where the more texture the better.
Instead of dying it in tea water, I hand-painting swirling leaves in light brown. The plan is I will paint a different “shell” cover for each book, with slightly different patterns. Since this is summer, I did full leaves interspersed with wheat sheaves. The result looked like this:
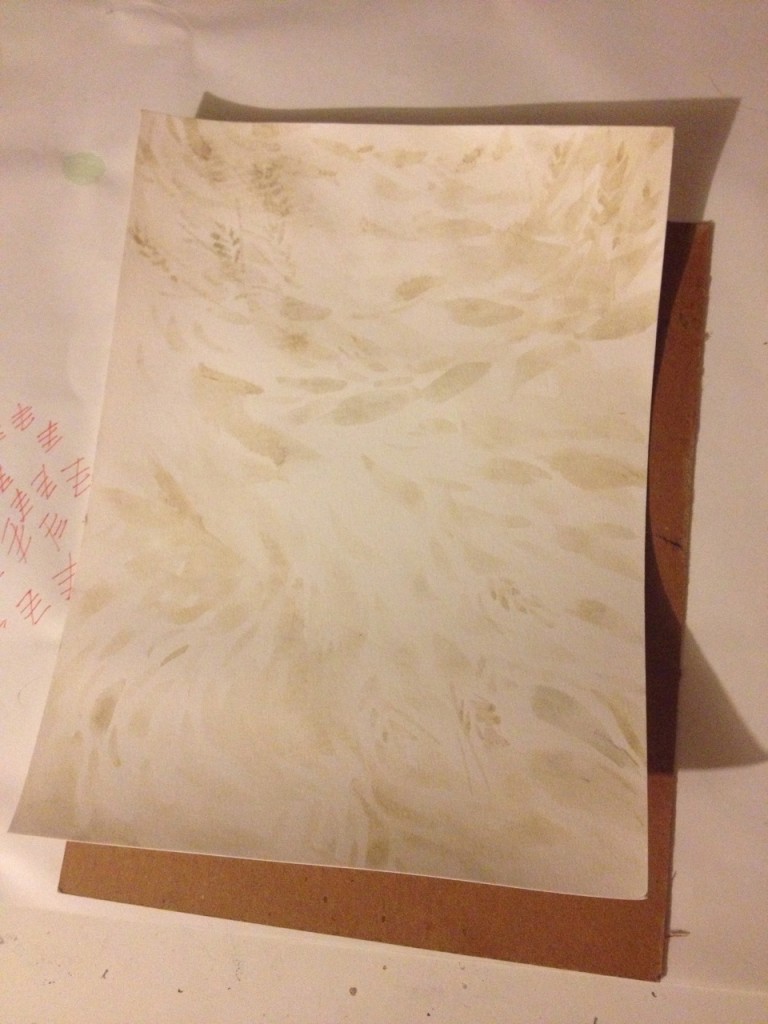
I then carefully measured edge-to-edge, and traced a square that would become the window on the back:
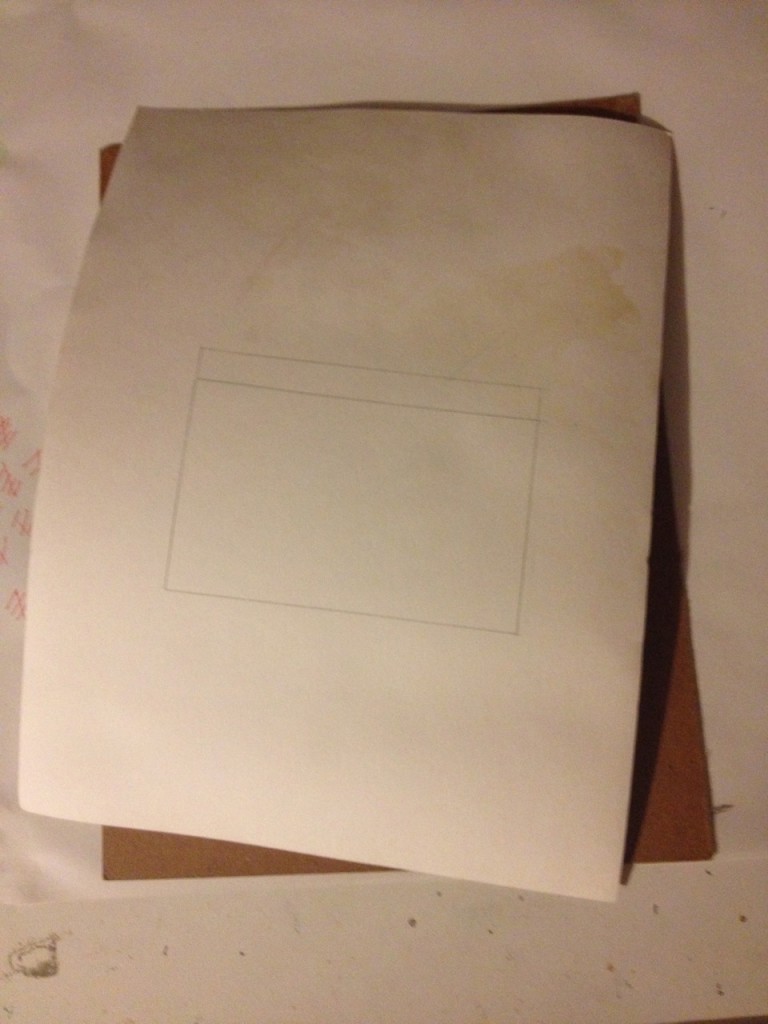
I then took an exacto-knife and cut out the center square:

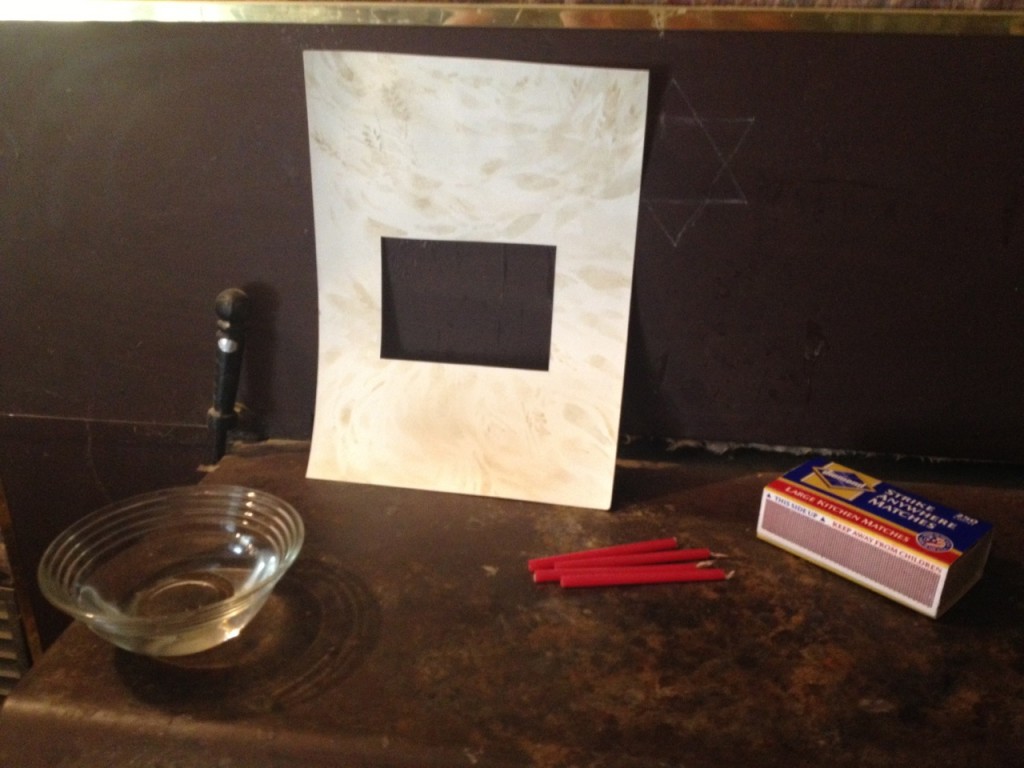
Now I had my backdrop ready and dried, I set up my work station at the dis-used wood stove in my living room. When working with fire it is essential that you are on a non-burning surface, and you have a means of extinguishing the fire easily at hand. Mine looked like this:
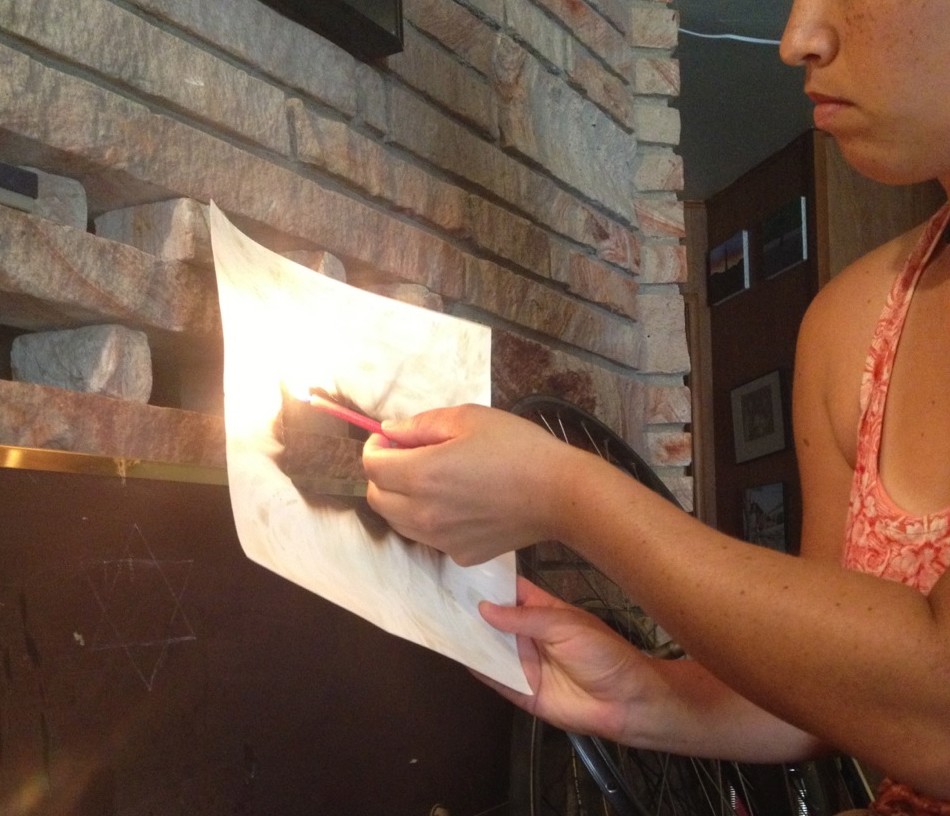
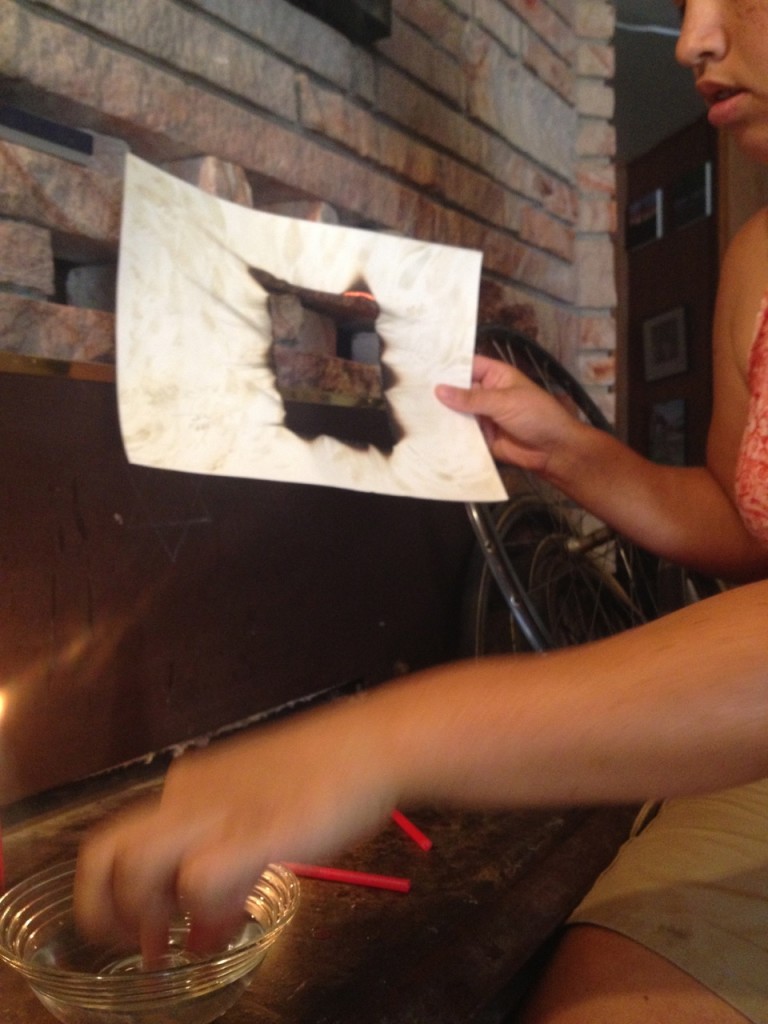
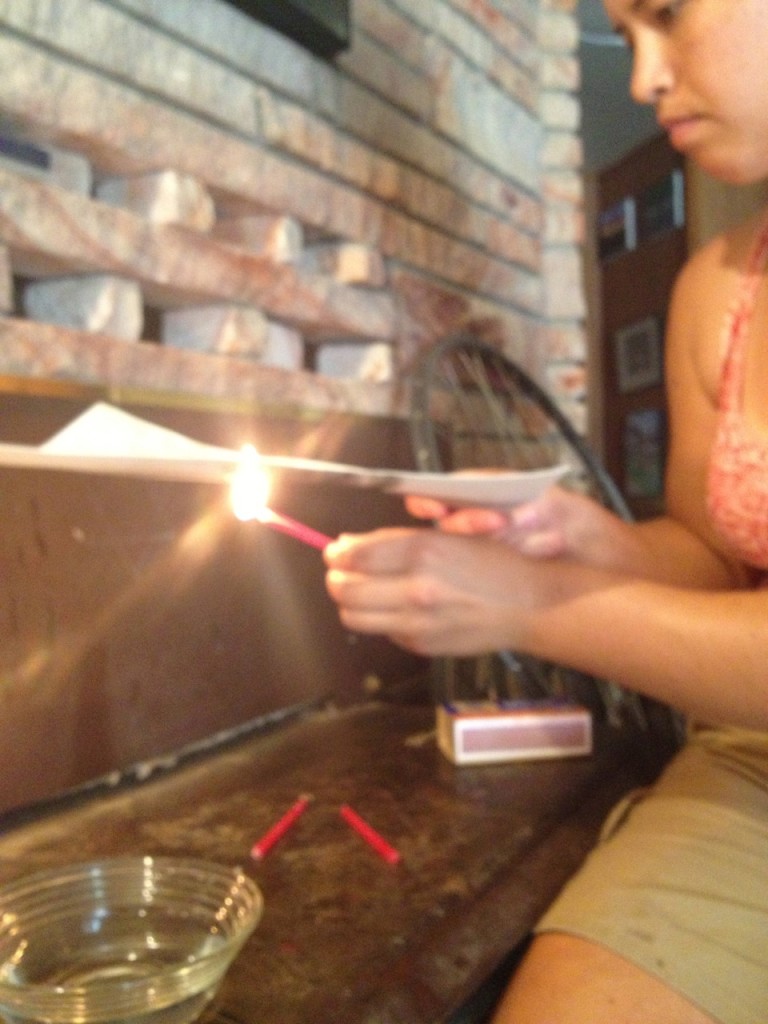
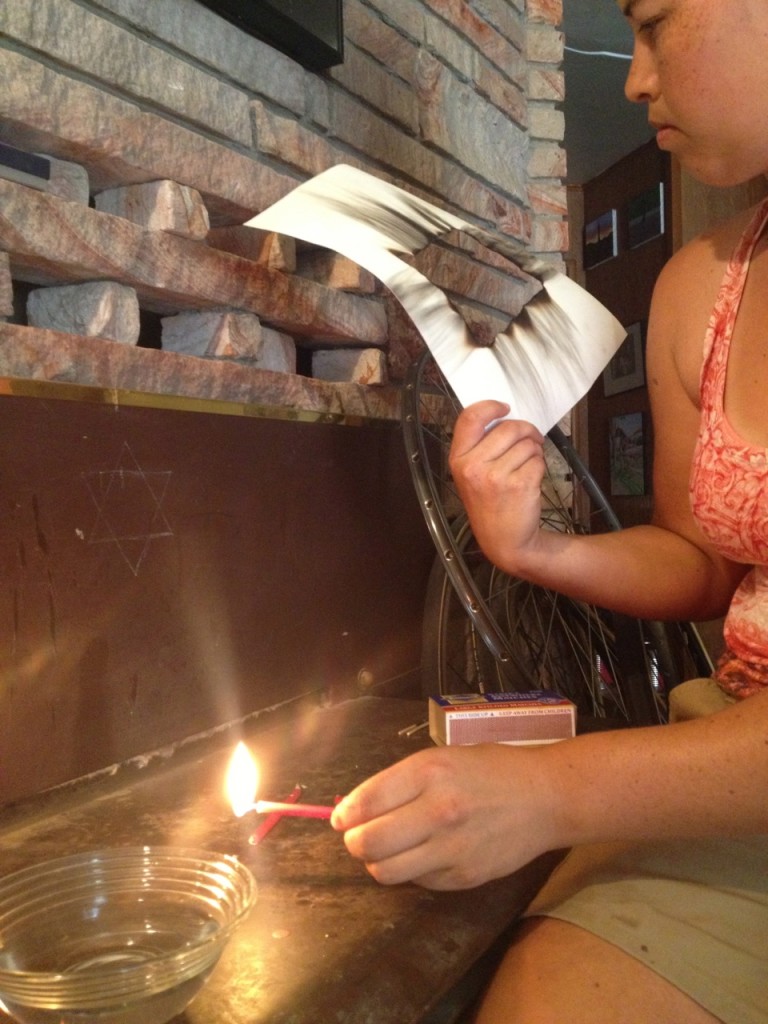
I then lit a pilot candle (so I wouldn’t have to keep using matches) and began—using another candle—to light the edge of the hole on fire.

Once the paper was ignited I would let it burn a little, then blow it out and, using wet fingers, extinguish the embers. I also worked carefully to create scorch marks radiating out from the aperture. Many thanks to my brother for documenting the process.

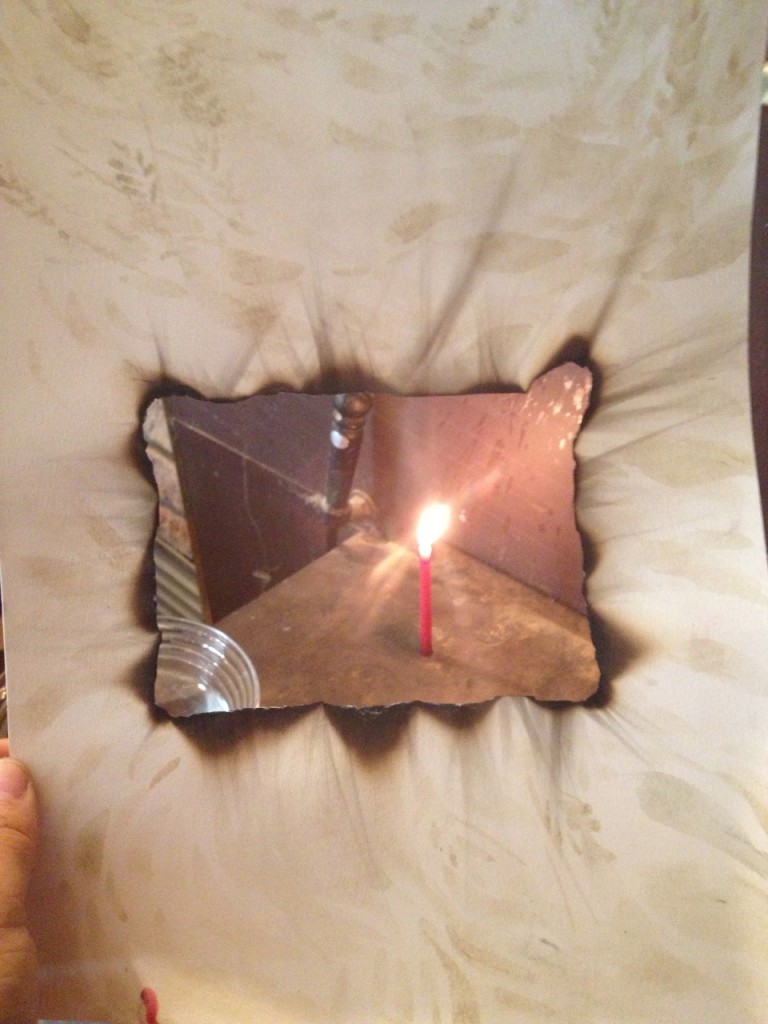
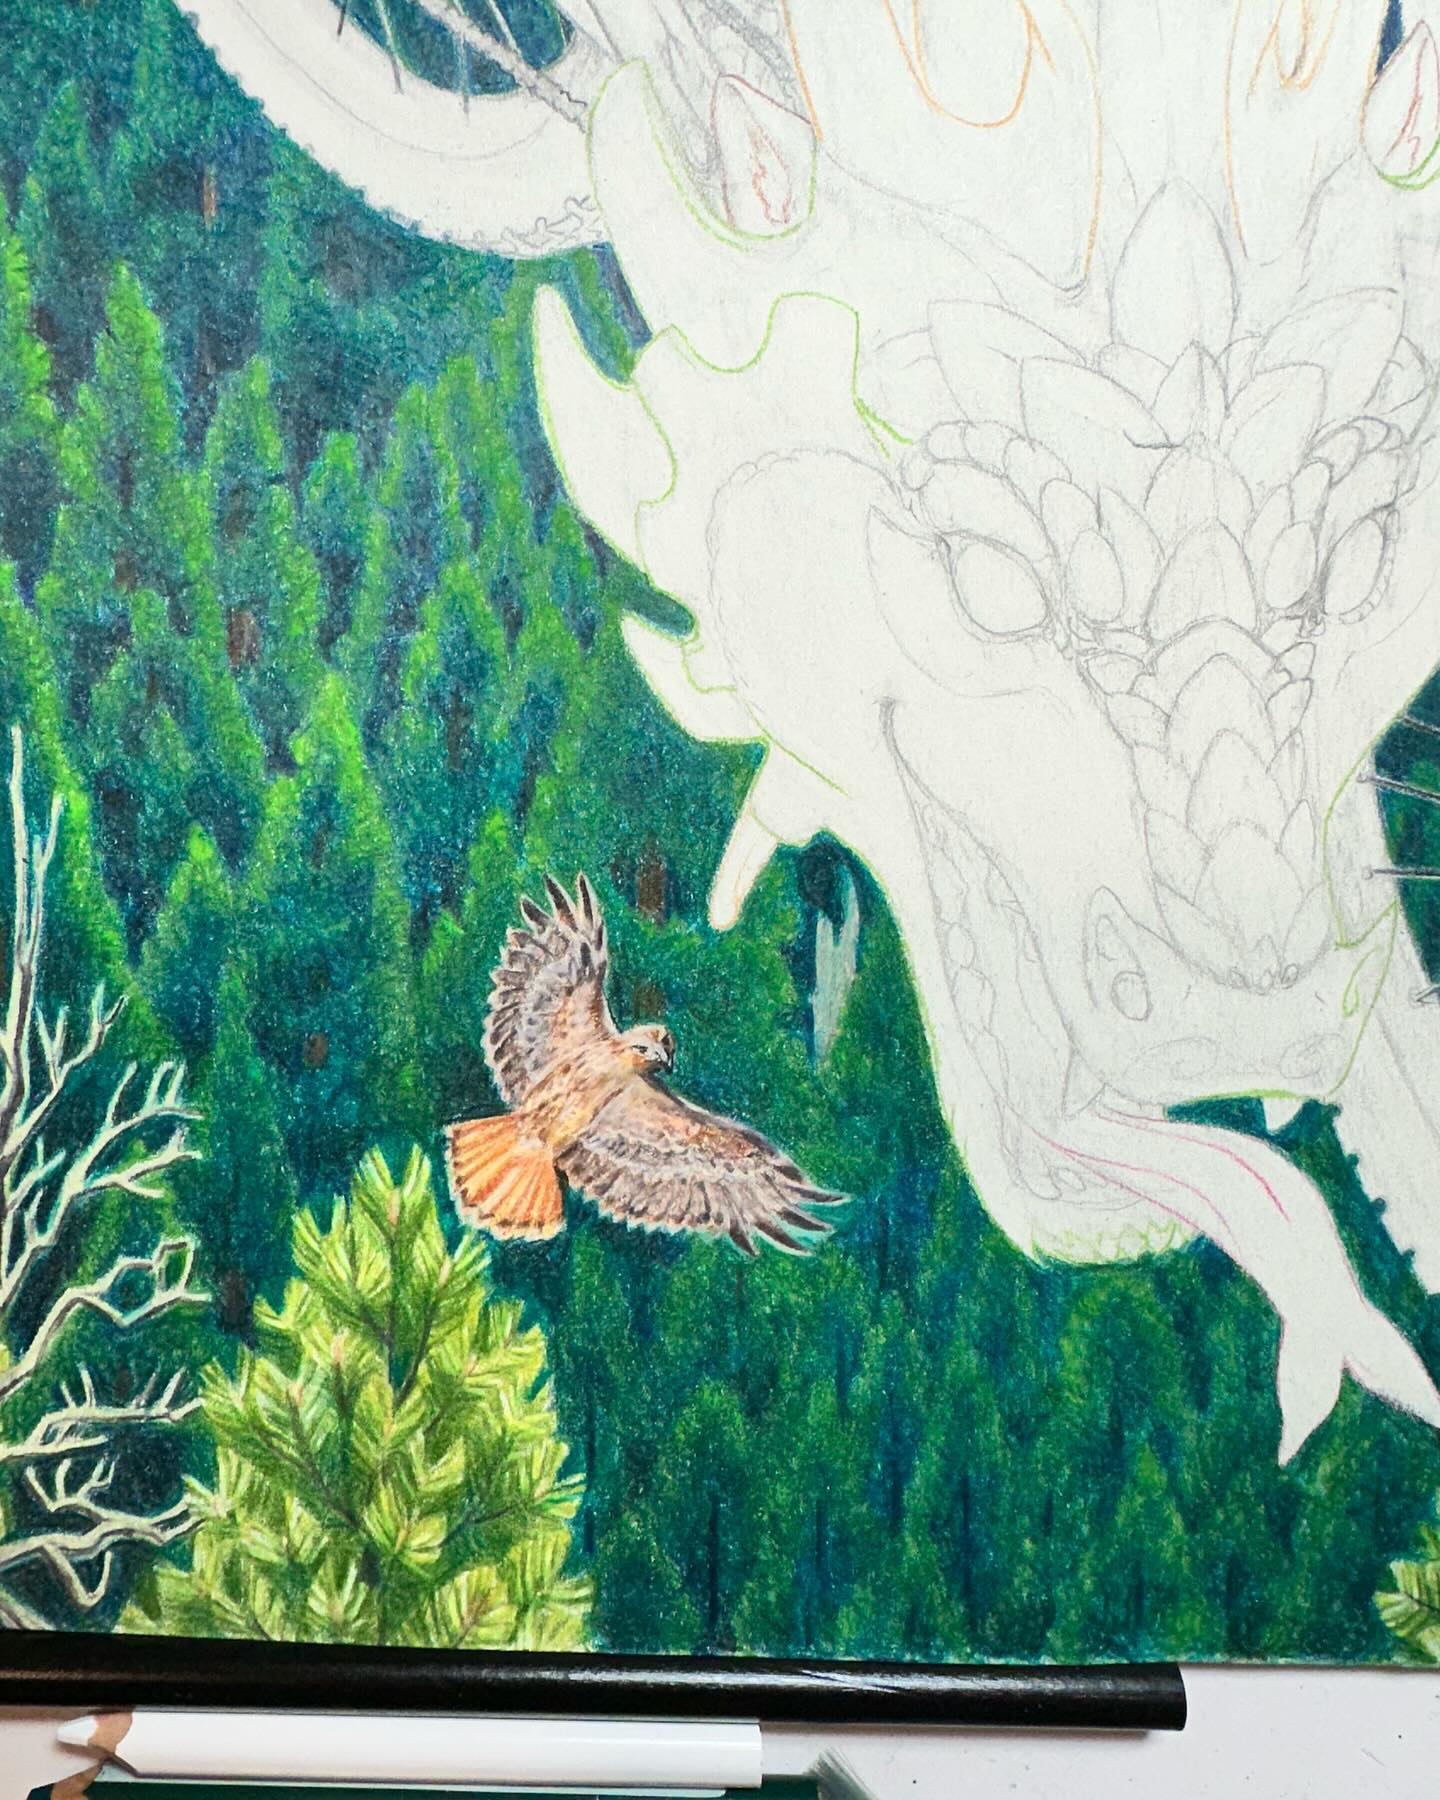
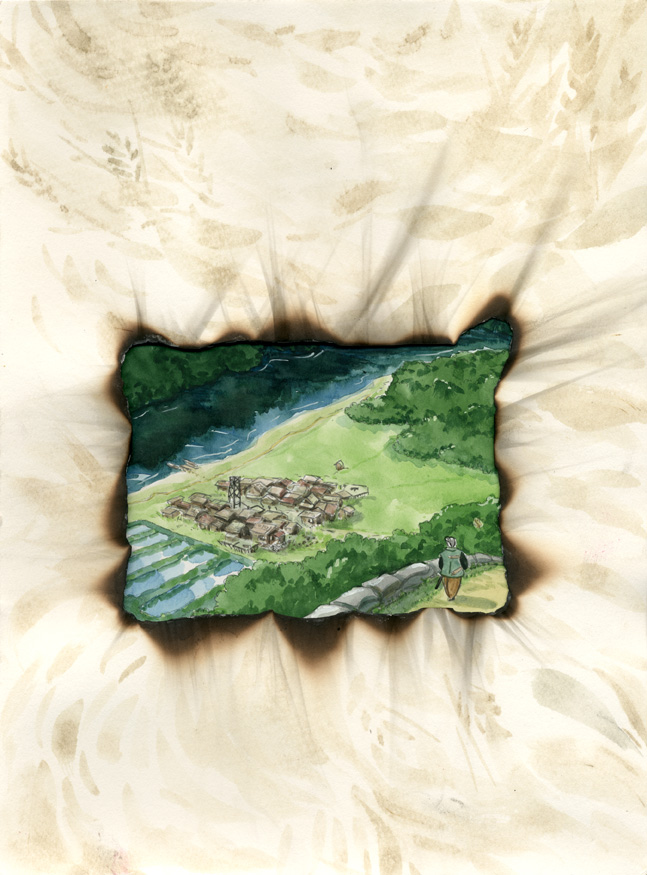
I then matched the aperture to an interior illustration from the comic. Because this is Book One I decided to draw on art from the early chapters. Due to the size of the hole, and the fact that I didn’t want any word balloons to be visible, this somewhat limited my choice in art. This is where assembling the whole thing in Photoshop would have been more advantageous, but I eventually settled on a picture that I liked, that I felt represented well the feeling of the book. Moreover, it gave you a sense of the world you were entering. Here is the initial layout:

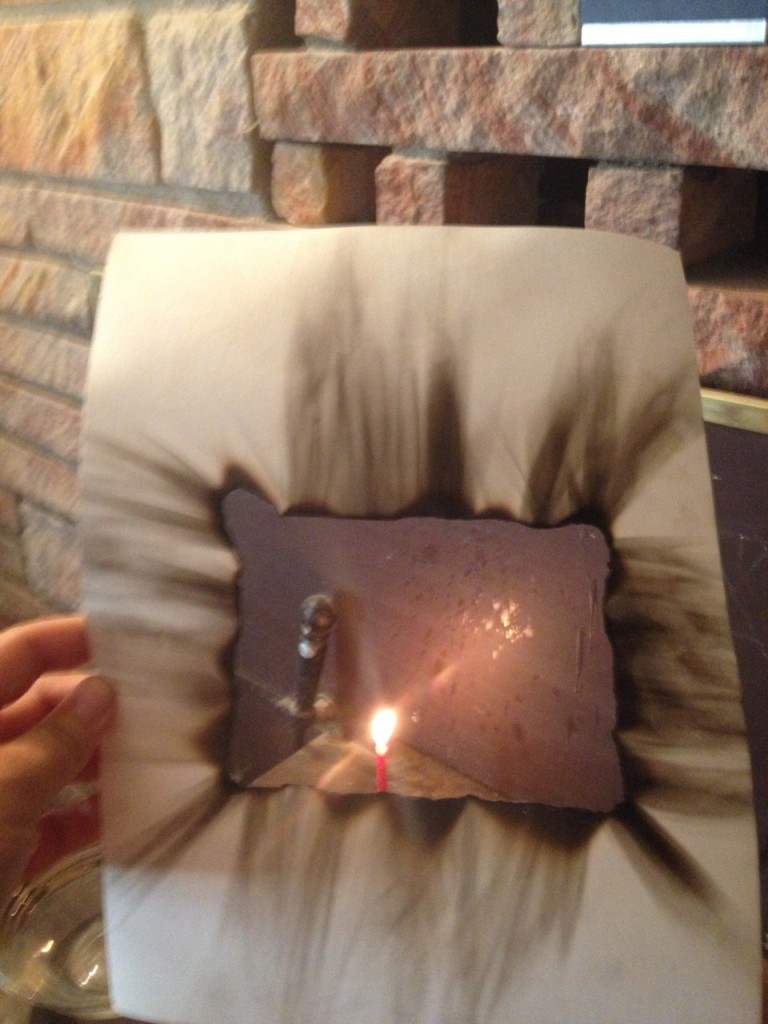
And what it looked like from the back:
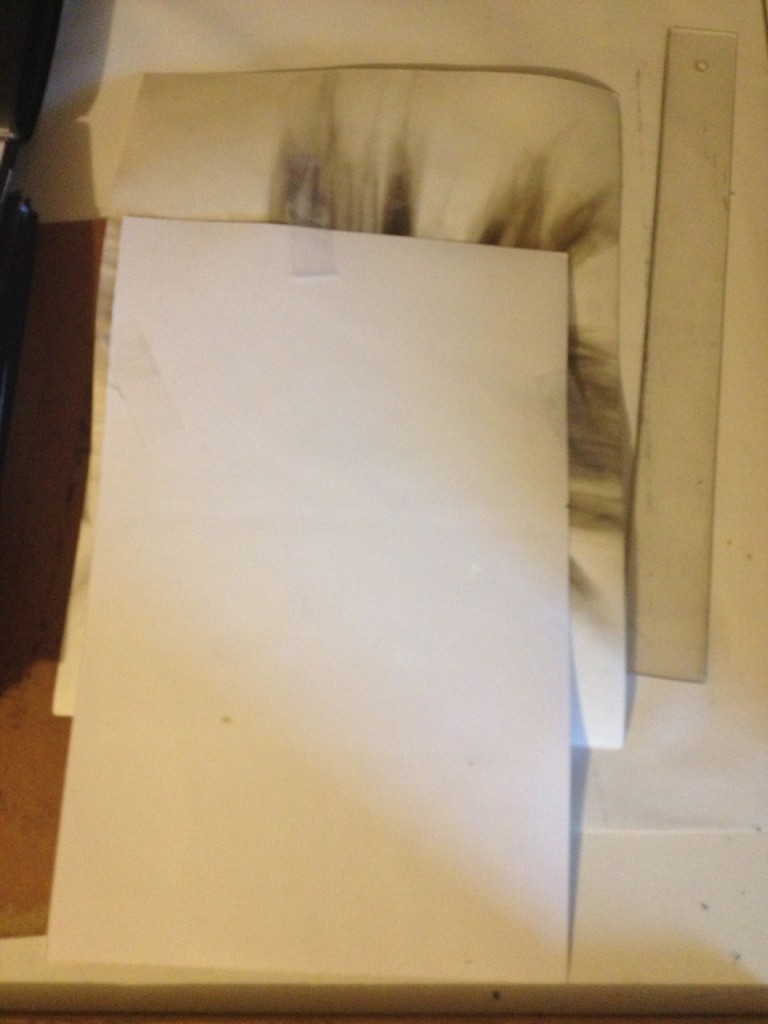
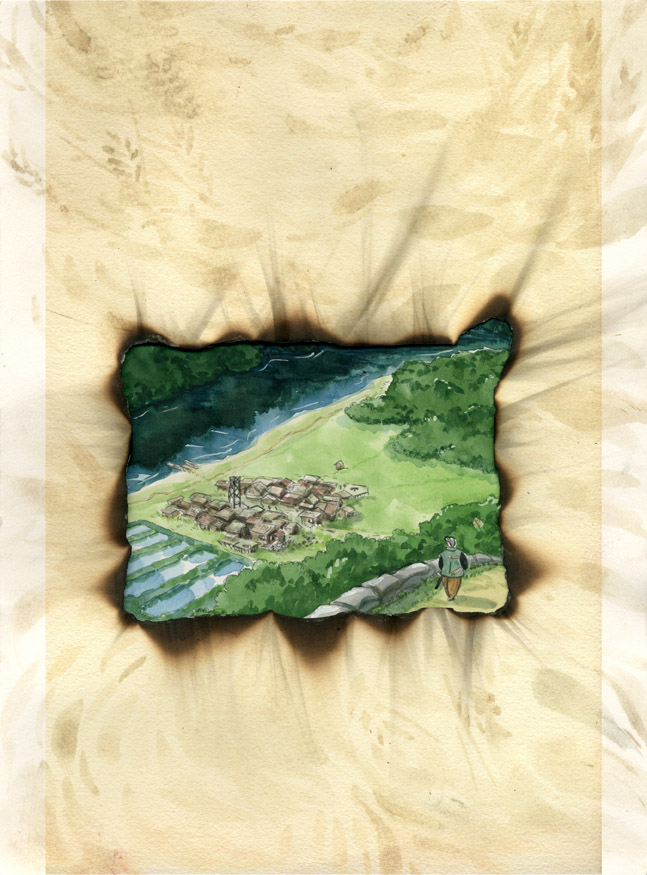
After this I placed the whole assemblage in my scanner and scanned it in. The resulting raw image looked like this:
Step 3: Putting it all together…
Now I had my raw background image, I took a scan of a blank piece of Cold Press paper and overlaid it using the “Multiply” setting. Cold Press paper has more natural texture, and I carefully erased the center of it so that it would overlay texture on the “shell” but leave the contents of the “window” clear. I then duplicated the cropped layer to provide more depth.
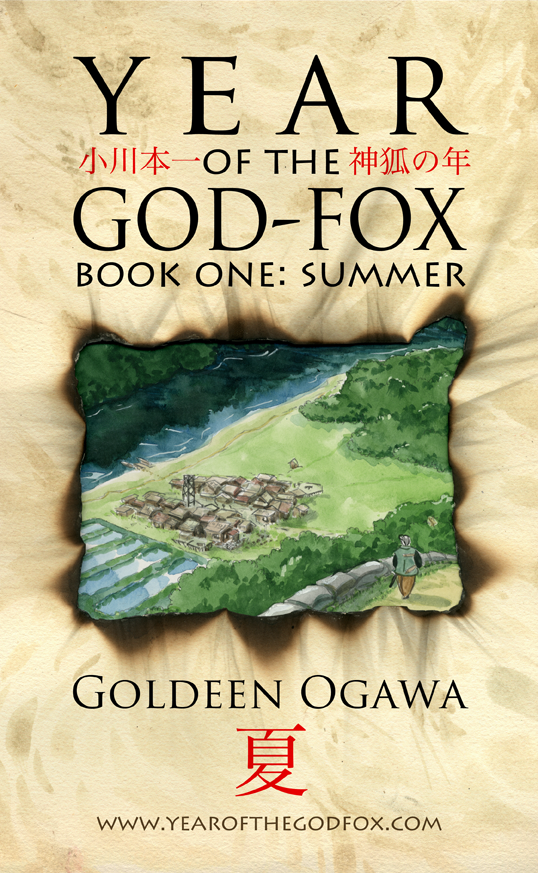
Now the moment of truth! I ad the text, which I easily copied from the original design:

Finished yet? Of course not! Next I twiddle around, getting the centering straight and working on the alignment so that the dark scorch marks do not interfere with the readability of the text. At last I cropped it down to its final dimensions and saved off a JPG that could be shared all over the internet.
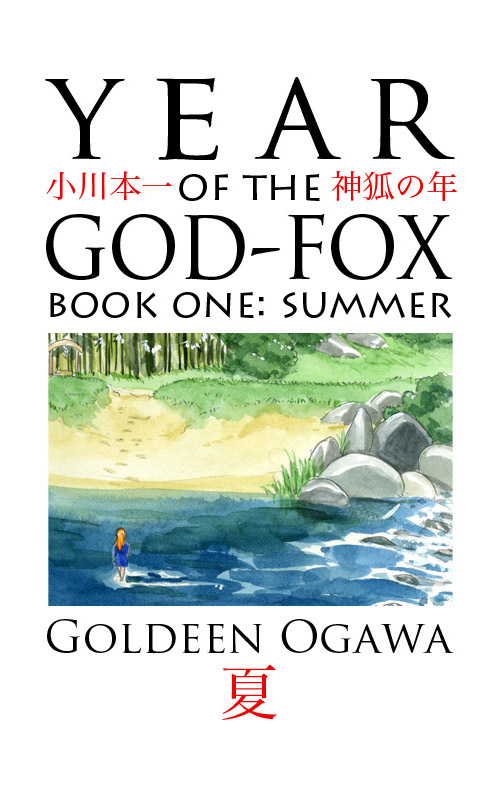
And then I had my cover for Year of the God-Fox, Book One:
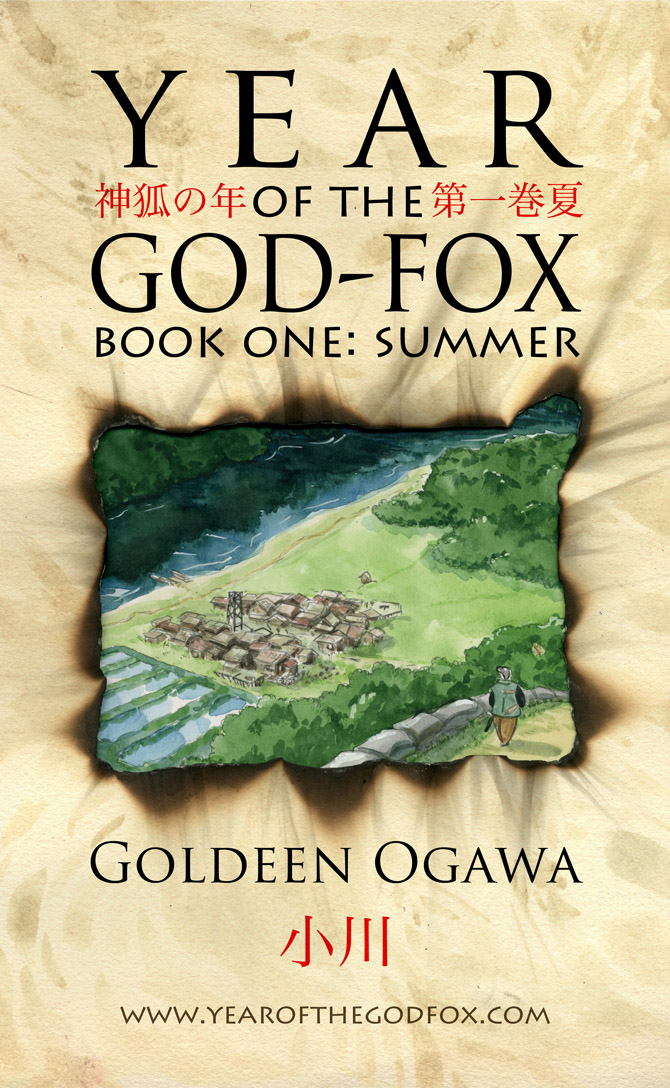
[EDIT] And then I showed it to someone who actually spoke Japanese, and she kindly corrected my spelling. Now the corrected cover looks like this:
I hope this has been a fun read, and possibly useful to anyone designing their own cover art. I think cover design is fascinating, and if authors are invested in the fate of their books, they should learn at least how to design a good cover, even if they still have to hire an artist to do the actual painting. Even if you’re not involved in book-making, hopefully this will give you some idea of what goes in to making a cover!
Year of the God-Fox will go live, gods willing, on Monday June 24th, with the Prologue coming the following Friday. Though you’ll have to pay up to read the whole story, the Prologue will be free to read for the public. Stop in and check it out on the 28th: yearofthegodfox.com
*
Goldeen Ogawa is a writer, illustrator and cartoonist—and apparently book designer as well. She accepts custom commissions on a limited basis. For rates and information, go here. You can email her at goldeenogawa@gmail.com or peck at her on Twitter @GrimbyTweets.